Monday, April 23, 2012

Permanent Henna Art

Henna is a temporary art by nature - it is put on skin and wears off within, at the longest, three weeks. So although I consider myself an artist, I have always wondered how to show off my artwork when I can't be physically present, or when I haven't recently worked on clients. I also always felt a bit guilty throwing out "dead" henna paste - paste where the dye has already become inactive. Henna powder is expensive and paste mixing is time consuming. So, how do I solve both problems with one idea? Henna Boxes!

Triangular henna box - floral design with vines on sides.
Triangular floral henna box.

I have decorated some small wooden boxes with inactive paste, and then used an acrylic sealant to make the design permanent. The result? Beautiful, one-of-a-kind boxes with permanent henna designs!

Vines on the side of the triangular henna box.
Side of triangular box - small Persian vines

Top view of the triangular henna box.
Another view of the triangular box.

 I've been experimenting with different sizes and shapes of box, and different types of sealant. So far, a thick acrylic paste sealant in several thin layers followed by a spray type sealant seems to work best. The texture of the paste can still be seen and felt, but the sealant gives it a smooth semi-gloss coating.


Octagonal henna box, top view
Octagonal henna box with tri-flora design.

Side view of both the octagonal and triangular henna boxes.
Side view of both boxes, showing the flowers on the top one.


The boxes I've made so far would be suitable for small jewelry boxes or gift boxes. I'm beginning a series of smaller boxes, about 2"x3"x2" for smaller gift boxes - possibly to hold a pair of earrings, a ring, or a bracelet. In addition, I have also started work on a larger box (8"x 8"x 2.5"). I'll use this first one as a supplies box for events, but if I like the look, and it doesn't take too long to create, I'll make more for sale soon.

Wednesday, August 24, 2011

Welcome to the 21st Century!

This is just a quick post to announce that Ancient Arts now has both a Facebook page and a Twitter account. You can find us under the user name Ancient Arts Henna on Facebook and follow us on Twitter at Ancient_Arts. The Facebook posts will automatically appear as tweets as well.

I also wanted to share some of the designs from this summer...

Tribal swirls shoulder piece

Persian hand/palm

Sun and stars sole

Cherry blossoms hand

Arabic strip on leg

Arabic strip on leg, close-up

Close-up of Persian leg piece

floral strip

Arabic/Persian arm/hand piece

Persian/Arabic palm

And finally, I learned an important lesson today that I thought I would pass on to folks. I have a small scar on my calf, thanks to a run in with a sharp seashell. It's barely noticeable normally, but look what happened when I put henna over it...

Scars + henna = bad news

So, lesson learned. Don't henna over scars. Fortunately, it's not all that noticeable in the bigger piece:

Japanese-style cherry blossoms with "ribbons"

I hope you've enjoyed! Please feel free to leave a comment.


Monday, August 1, 2011

New Techniques, Bigger Designs

So July arrived and was gone before I knew it. It's been far too long since I've done a post. I've been putting it off until I obtained pictures of the work I did all month, but my photographer is unusually busy and so those are still to be seen. In lieu of a those, I thought I would share the designs I've done in the last week using thinner paste and new Arabic designs.

A dear friend of mine, Ellen, is a henna artist out in L.A., and has offered me excellent advice on a number of occasions. The last time that she put up her work on Facebook, I took a look and noticed that her henna paste looks a lot thinner than mine, almost runny. At the same time, I was experimenting with some new designs and having difficulty getting them to work. They took forever, and the paste would be dry and cracking off before I could finish. I would end up frustrated, with cramped thumbs and a design that wouldn't darken very well. So, I went to the expert, sending Ellen a message asking about the paste. She responded by saying that I almost certainly needed to thin my paste, and that most people start off with paste that is too thick, making it difficult to deal with and prone to drying too fast. She also included this video, on proper paste thickness:


Needless to say, this green gloop was significantly thinner than my mix. I didn't want to use "good paste" to practice a new technique, so I proceeded to pull all of my "old" cones out of the fridge. By "old," I mean between one week and one month old - still retaining some dye, but certainly not good enough to use on clients. I squeezed all the old henna into a bowl, added some lemon juice and a little bit of essential oil and dextrose, and put it into a small cone. These are the designs that I did (on myself) to practice with thinner paste:

My first try with the thinner paste and an Indo-Arabic motif, 24 hours after paste removal.

Same design, 5 days after paste removal.
The old paste doesn't darken as much as fresh paste, but seems to last well.


Delicate Arabic floral design with vines, with paste just removed.


Another view of the above design. Please ignore the paper tape "wrinkles" on my skin,  the tape had just been removed after sleeping with it on overnight.
And that same design again, 24 hours after paste removal. Even with the "old" paste, it darkened pretty well.


A large Indo-Arabic design, done with my non-dominant hand, paste just removed (in fact, there are still specks on there).  It's not a crisp as with my dominant hand, but I'm trying to learn to be ambidextrous when it comes to henna, so that I can do pretty designs on both hands.


Finally, a bold floral design, with both modern and Arabic influence. I'm not sure how to feel about these leaves. I like them, but they are much less delicate than the leaves I usually use.

All in all, I think I will like working with the thinner paste. I believe it is still thicker than that used by many artists, so I'll be working my way towards that. The next time I mix up some fresh henna, I will use a lot more lemon juice and dextrose than I usually do. I know that there has to be a balance with the paste - too thick and it doesn't like to come out of the cone and dries too fast, too thin and it becomes runny, making it spread too much for delicate designs requiring thin lines. From what I've found and what I've been told, every henna artist is constantly learning new techniques and revising their paste pix formula. I'm glad I can be learning something new and experimenting with it.

I hope you've enjoyed the designs. I'll be at Pennsic in Slippery Rock, PA from August 5th through 14th. I'm hoping to do a lot of henna on people, and get good photos to share. See you mid-August!

Wednesday, July 6, 2011

Welcome to July!

It's been a busy time so far, with lots of fun design work going on, and lots more to come before the month is out. Here's a few samples of my most recent work. The first one took about half an hour, and turned out really nicely! It was a warm day, so we just let it dry and come off with no wrap or seal. It came out a nice deep brown, even on the upper arm! I absolutely love the Celebration henna from HennaPage.

A full arm floral design, Persian based.
 This one was a challenge because of narrow lines, but came out really well. Thanks to dextrose-heavy paste, the henna stayed on for a long time without a seal. About 24 hours after paste-removal, it was almost black! Sadly, due to every day gardening duties, it only lasted about a week. This is the perpetual struggle with palm designs - they darken so nicely, but then come off so quickly if you're active!
A simple palm and finger tips design, with Indian elements.
 Next is an almost Greek design, with hanging grape bunches, vines, and leaves. This was done for someone who wasn't really into traditional African or Indian motifs, but really likes the "viney" ones.
Full hand grapes and vines motif (sorry it's not close-up).
 Much like palms, I have a love-hate relationship with working on the soles of feet. One reason is the same as that for palms. The henna always darkens really beautifully, but then rubs off far too fast because of use, especially at the ball and heel of the foot. In addition just the application process can be difficult with feet. Ticklish clients often have trouble holding still, and who can blame them. Once the paste is on, it again problematic to keep it there - no one wants to hop on one foot for hours. The best solution I've found, which still isn't perfect, is to have them sit while the paste dries, then seal it with spray hair gel. Let that dry too, add a second coat, dry, and put on a clean sock. It's also just a good idea to avoid really tiny detailed designs, because if they squish at all, it's noticeable.
A stars and sun sole of the foot design. Careful, application may tickle!
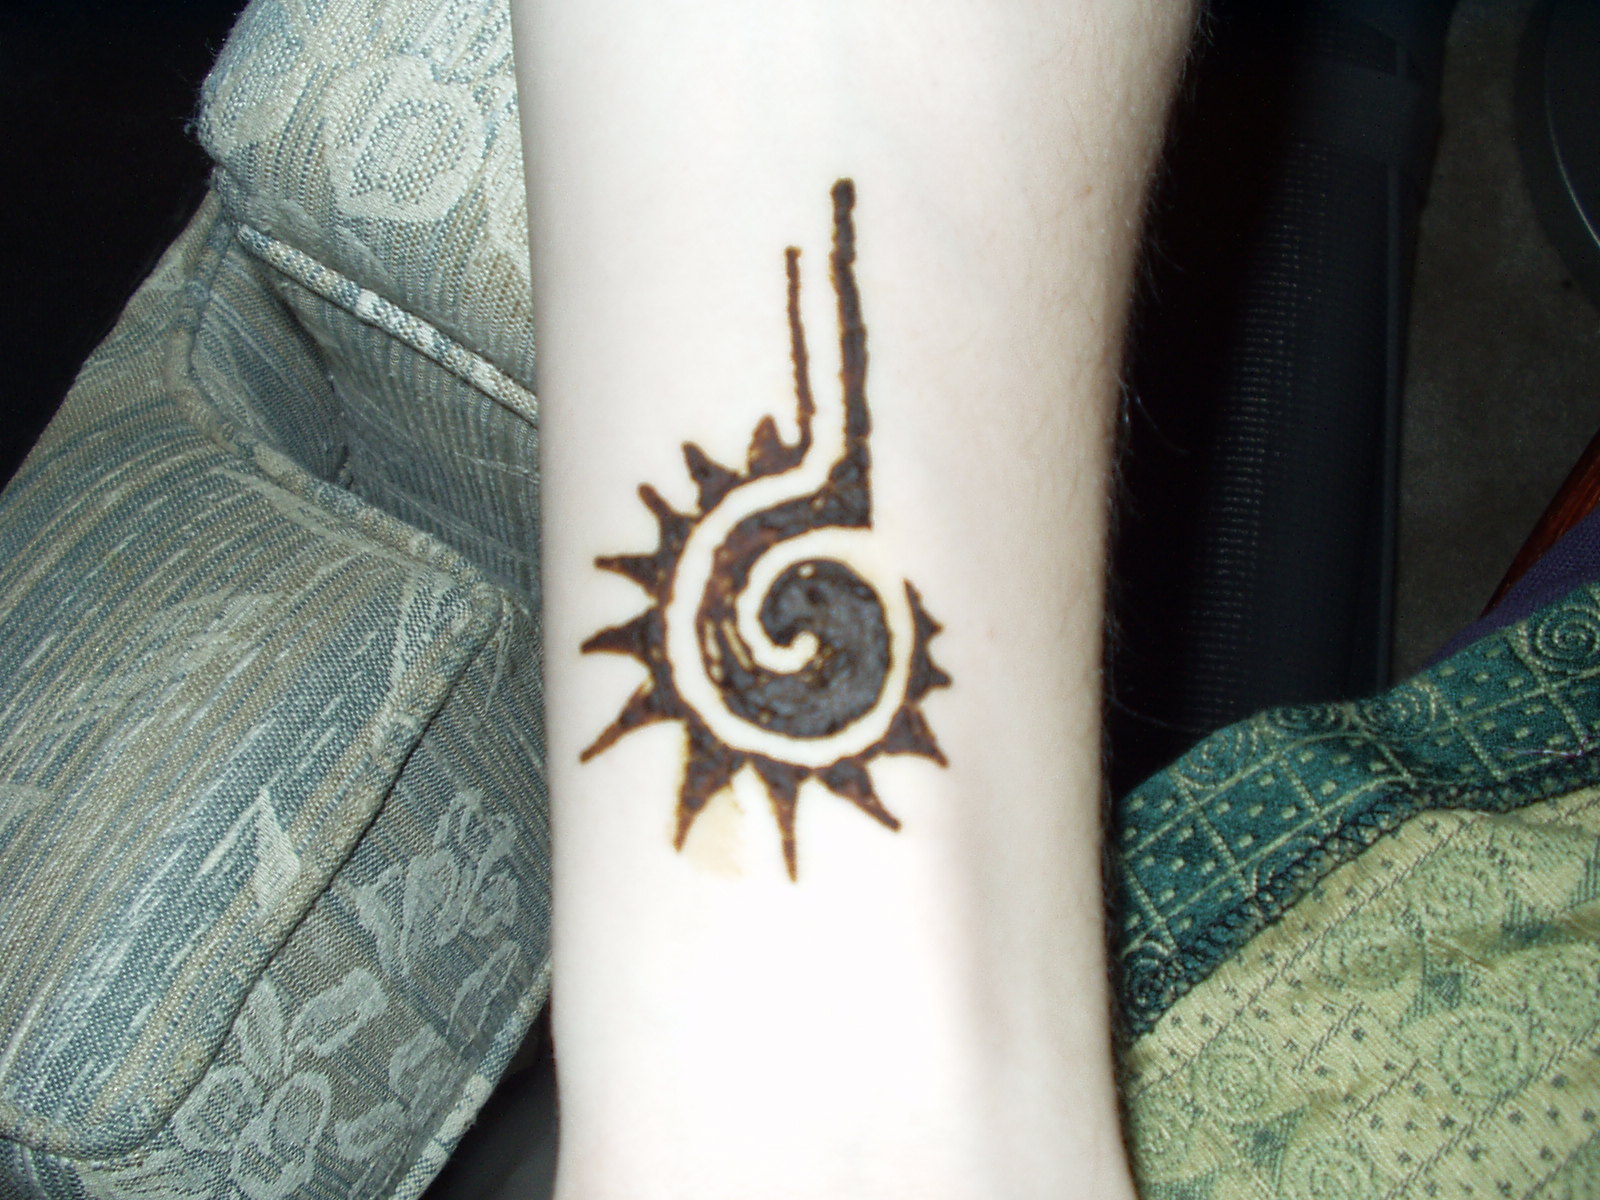
 Not much to say on this one. It's simple and can be incorporated into a larger design. Made bigger, it can be nice for the back, belly, or chest. It can easily be made into a bracelet, armlet, or anklet, too.
A small ankle design. This one is also nice on the inner wrist or bicep.

This one is much like the previous one, pretty on its own, and easy to make larger or integrate into a more complex design.
A simple "anywhere" design, here on the calf.
 And lastly, the very simple floral pattern. This one seems to be a favorite for preteen and teen girls, especially when made into a bracelet or anklet, or done across the lower back.
A very simple floral and vine design. It can easily be made into a band by repeating two or more times.
I hope you've enjoyed these! More next week after the family vacation.

Friday, July 1, 2011

A few summer designs...

Summer is here at last, and I'm getting back into the swing of things. In the past few weeks, I've been at Bonnaroo, Pride Fest, Baron Wars (near Toledo), and Comfest. I've also had the pleasure of working on my friend Scotty of BigStyle, and his lovely wife. Here's a few of the pieces I've done. More to come as I get the pictures processed!


Blended geometric and botanical design on foot:


Simple floral hand pattern:


Another simple floral pattern on the palm:


Tribal swirly:


This one is my current favorite for this year, angled spirals and swirls on hand and forearm:


I just love the Nightmare Before Christmas feel of those angled spirals!

Tonight I'll be at Red, White, and Boom. Saturday brings us Gallery Hop in the Short North, and then DooDah on Monday. It's a busy busy time. Next week I'll be headed out of town for a family reunion, so I may not post during that time. However,  I will hopefully get to do a lot of henna on my cousins so there will be more new photos!

Please let me know what you think, and what you'd like to see! I'm always up for the challenge of designing new patterns and pieces. Happy Summer!